Wondering what you should serve for a delicious brunch? Here is a delicious quiche recipe that is perfect for brunch and it will become a family favorite!

It is made with turkey sausage, roasted red bell pepper, scallions, eggs and cheddar cheese. I absolutely love the combination of the savory Italian turkey sausage and sweet red bell peppers!

Italian Sausage Sweet Red Pepper Quiche
Ingredients:
3/4 cup roasted sweet red bell pepper, chopped ~ directions below (1 and 1/2 Greens)*
6 ounces cooked Jennie-O Sweet Italian turkey sausage links (1 Lean)
6 eggs (2 Leans)
1 cup unsweetened cashew milk or almond milk ~ I prefer cashew milk (1 Condiment)
1 cup shredded 2% sharp cheddar cheese (1 Lean)
1/4 cup scallions, chopped (1/2 Green)
1/4 tsp salt (1 Condiment)
1/4 tsp pepper (1/2 Condiment)
2 tbsp reduced fat grated parmesan cheese (1 Condiment)
Directions:
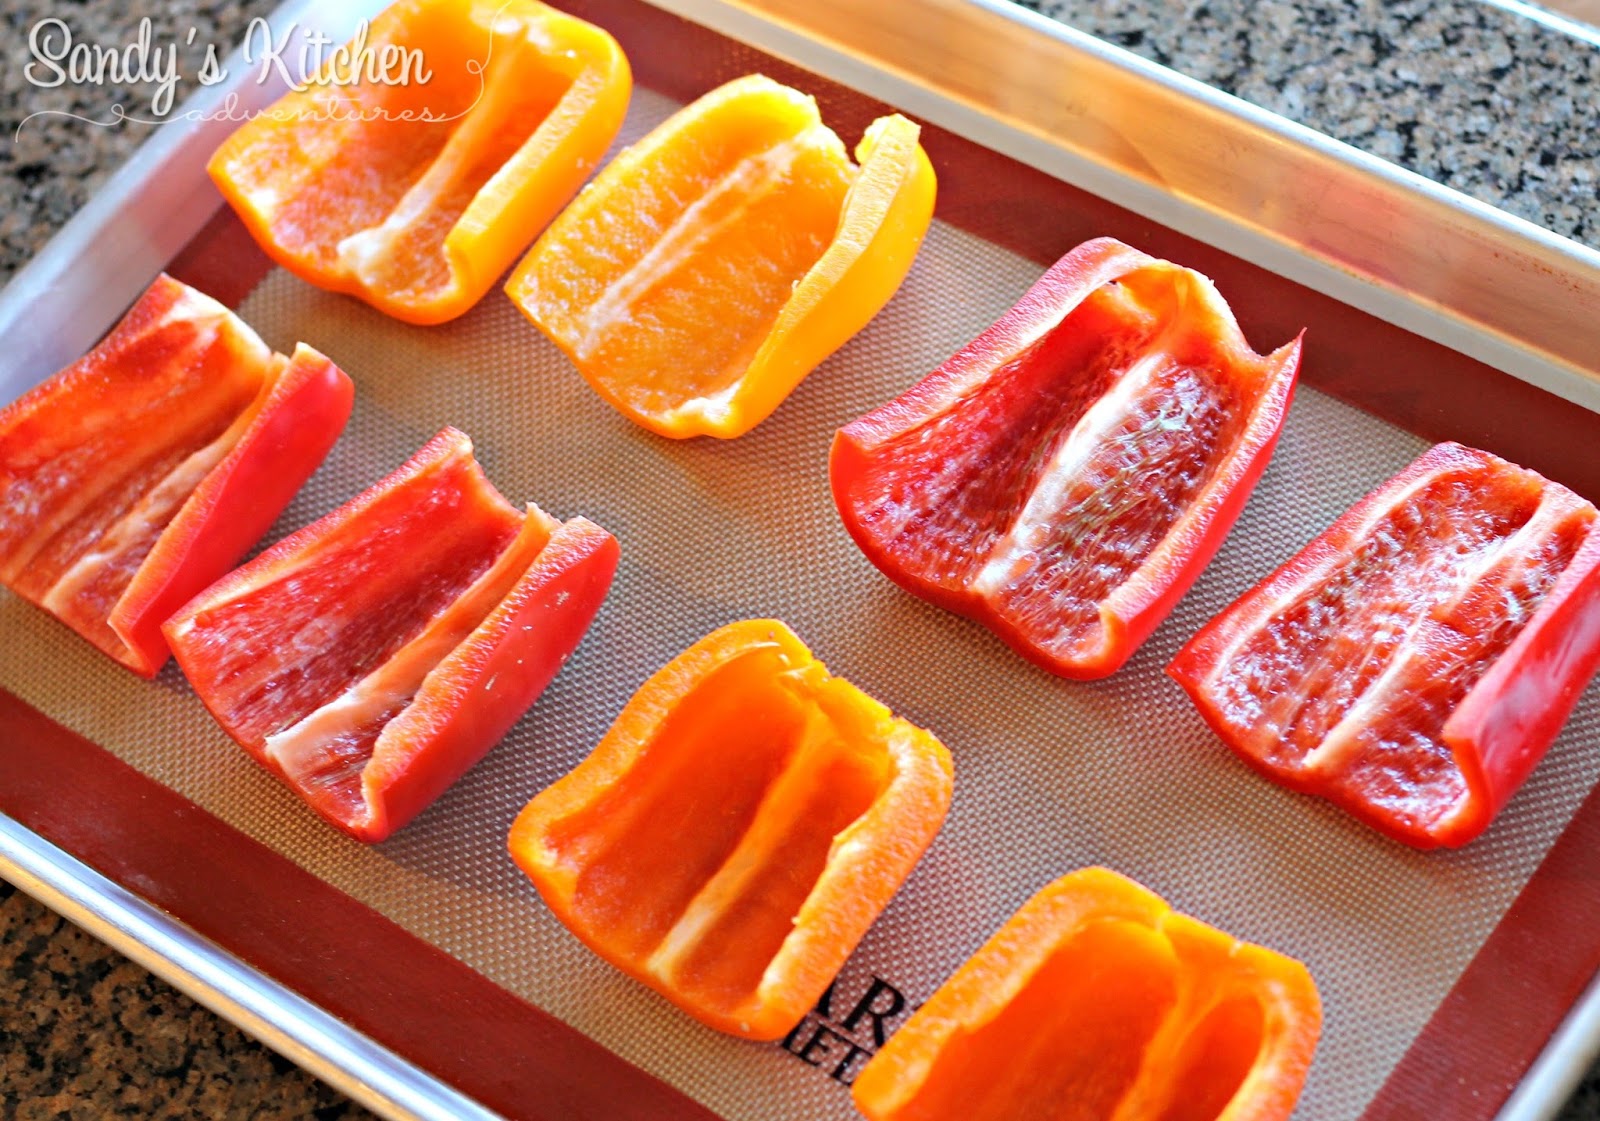
To Roast Peppers:
Preheat the oven to 500 degrees.
Line a baking sheet with foil.
Cut bell pepper in half and remove the membrane and seeds.
Place the pepper cut side down on foil and spray with cooking spray.
Roast for 20 min.
Let cool and then chop into pieces.
Measure out 3/4 cup for the quiche and set aside.
To Make the Quiche:
Preheat the oven to 350 degrees.
Spray a 9 inch pie dish with cooking spray.
Remove sausage from casings. In a medium sized skillet, brown sausage over medium high heat until cooked. Drain and measure out 6 ounces. Set aside.
In a large bowl, whisk the eggs and unsweetened almond milk together. Stir in cheddar cheese, cooked sausage, roasted red pepper and green onions. Add salt, pepper and grated parmesan cheese stirring until combined. Pour egg mixture into the pie dish.
Bake for 45 to 50 minutes or until knife inserted in the center comes out clean. Remove and let cool in pie dish for 5 minutes before slicing and serving.
4 Servings (1/4 of quiche) with
1 Lean, 1/2 of a Green, and 1 Condiment per serving
(You still need to add 2 and 1/2 more Greens per serving such as 1 and 1/4 cup broccoli or veggie of choice. )
***************************************************************
* Originally when I created this recipe, I used fresh bell pepper but I have found using roasted bell pepper allows the pepper to be sweeter and softer. Feel free to use roasted or not roasted peppers.
Other sausage substitutions that are plan approved:
5 ounces Jennie-O all natural bulk sausage; the Hot bulk sausage is higher in sodium.
6 ounces Jennie-O Sweet Italian turkey sausage
5 ounces Jennie-O Turkey Breakfast Patties
5 ounces Jennie-O Turkey Breakfast sausage Links
Johnsonville Fully Cooked Breakfast Sausage: 6 links = 1 lean
Gilbert Chicken Sausage: 2 links = 1 lean
Al Fresco Sweet Italian: 2 links = 1 lean
Al Fresco Smoked Andouille: 2 links = 1 lean